Greg's "Don't Do This At Home" Project
June 2018 - Greg is back working in his garage.
DON'T TRY THIS AT HOME! Many years ago I replaced a heater core in my 1984 Corvette. I spent about 2 days sweating and cussing with my head stuck upside down under the dash board and my feet sticking straight through the open roof panel. A couple of years after that I read a "how to" article in one of the Corvette magazines giving a step by step instructions for changing a heater core in a C4 Corvette. The title of the article was "Don't try this at home!"
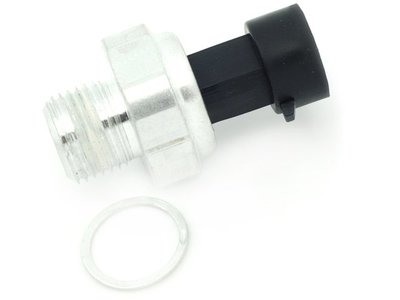
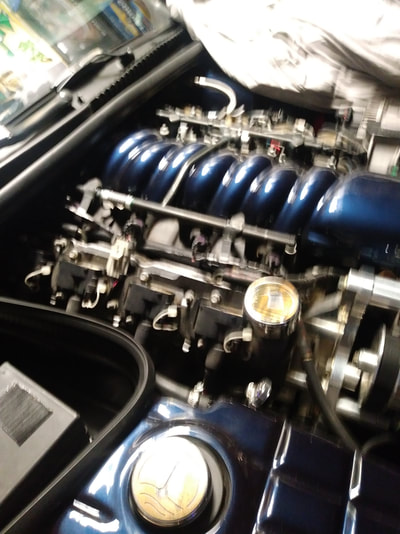
I was reminded of this after a small project I just completed on my 2001 Corvette. The oil pressure gauge pegged last fall and I knew it had to be a sensor problem because I doubt the engine would be capable of generating pressures that high. I bought a new sensor, opened the hood to look at it and put the project on hold. The recommended GM fix is to remove all the fuel injection lines and then remove the intake manifold because the oil pressure sensor is conveniently located on the back of the engine behind the intake manifold where not only can't you even touch it with your fingers but you can't hardly even see it.
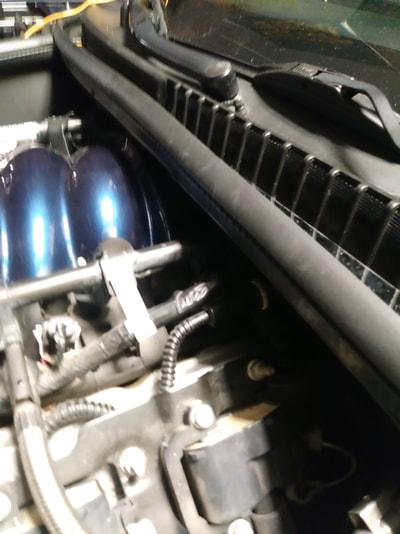
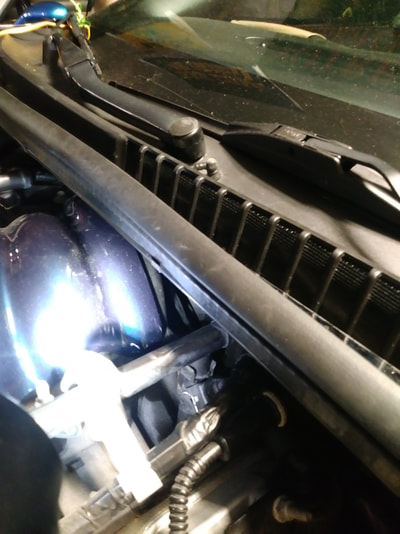
Wanting to drive my Vette this summer so I tackled the project this past week. With no intention of doing it GM's "support a mechanic" way I found two YouTube videos with alternate methods. One involved cutting an access hole in the windshield wiper cowling and one suggested it was possible to do it with a lot of patience and some special tools. Cutting my Vette up didn't sound attractive so I made my mind up to do some more sweating and cussing.
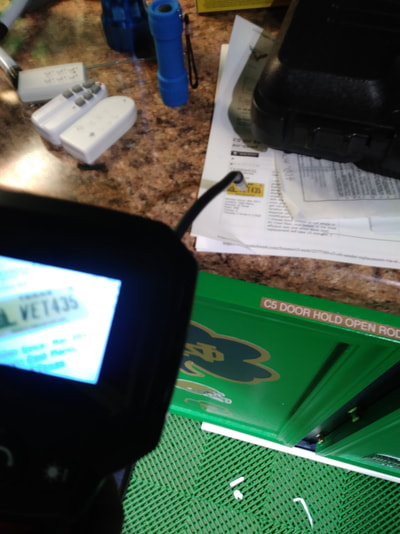
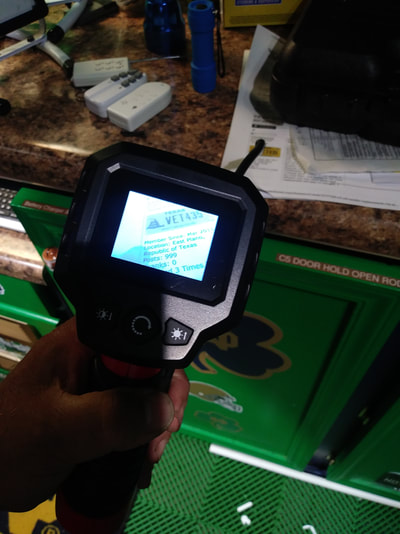
I was able to bend a coat hanger and pop the electrical connector off the sensor. No easy task but finally done. Next I had to pull a PCV hose out of the Vette that ran above the sensor and further restricted access. Again some grunting and cussing. This done I was able to drop by feel a 27mm socket and universal connector on top of the old sensor and carefully remove it. Now it was how to install a sensor in a hole that I could neither reach or even see. A trip to Harbor Freight helped as I purchased a miniature camera with a lens on a 2 foot flexible tube so I could snake this back towards the hole and at least see on a screen what the heck was going on. I attached a short length of rubber hose over the end of the sensor so I could use that to position and start the threads in the hole. Sounds easier than it was but eventually I was able to get it threaded. I pulled the rubber hose off and dropped the 27mm socket back on it and tightened it up. Now to drop an electrical connector that you can't see or reach back on the sensor. The camera helped here as I positioned it with some very long screw drivers. Eventually I managed to line the connector up correctly and push it down until it snapped into place. A quick check showed the unit now was reading properly so all that was left was to replace the PCV hose which was difficult and time consuming and then replace the engine dressing pieces I had removed for access.
I have pictures below and also the youtube link of how to do it. It took me much longer that the video with several days of frustration breaks between the steps. Hopefully I won't have to do this project again.
https://www.youtube.com/watch?v=RSVko7B5zNM
