C4 Muffler Replacement
Advance Work
A few years ago after Greg first picked up his '84 Vette (aka B-2) he needed to "polish" the rusty old stock style exhaust system so he dropped the entire system from the headers all the way back in one piece on his driveway and then slid the whole thing out from under his Vette. He then installed a stainless steel true dual exhaust system and ended it with chrome pipes. The result was a basically straight through exhaust and VERY LOUD. The biggest problem was it resulted in an annoying drone in the passenger cabin and also caused an equally annoying squeak in the passenger seat.
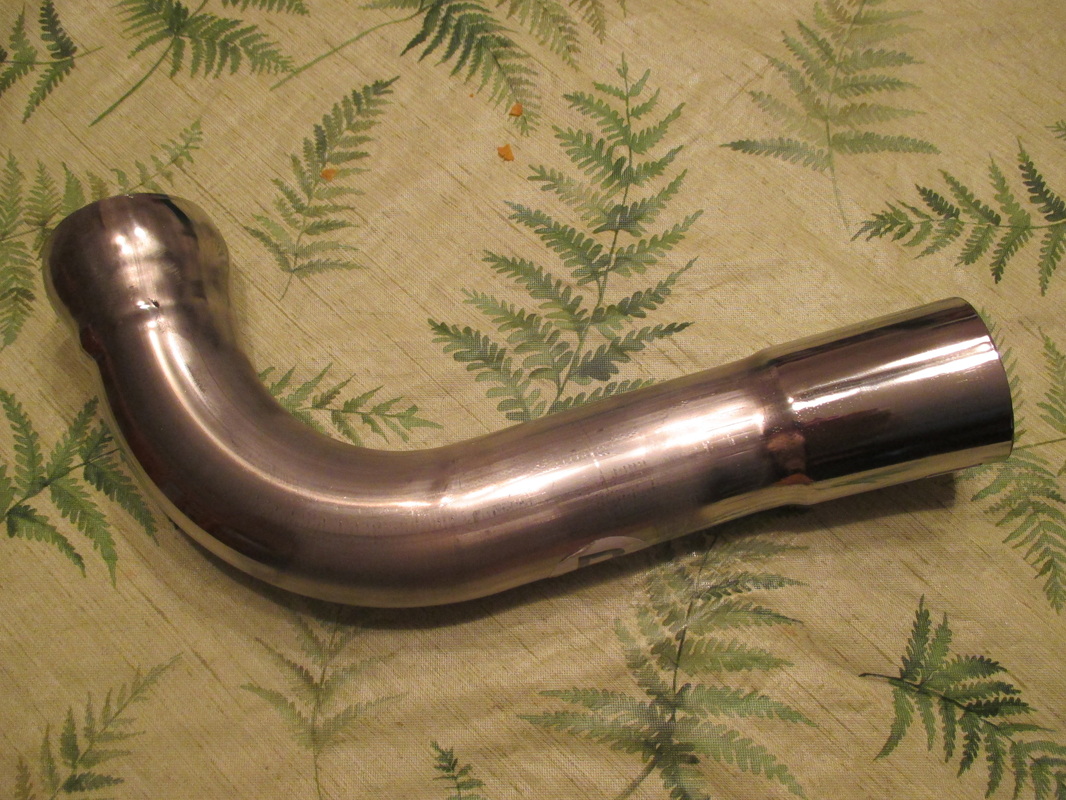
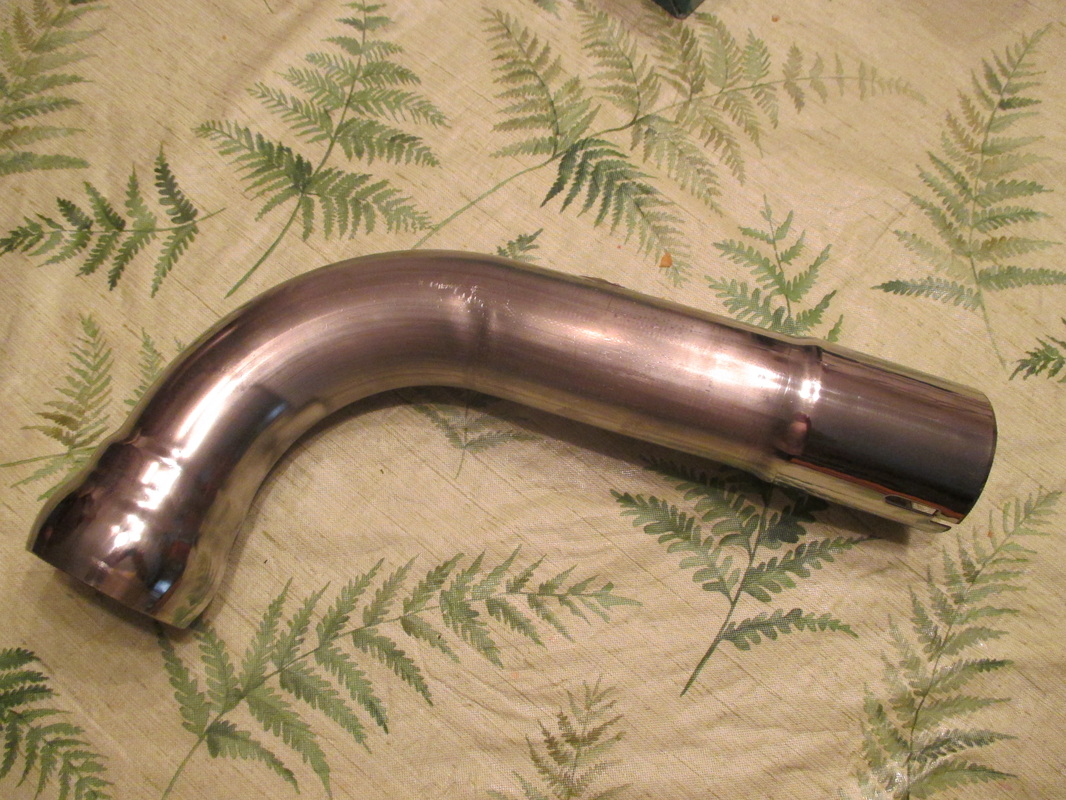
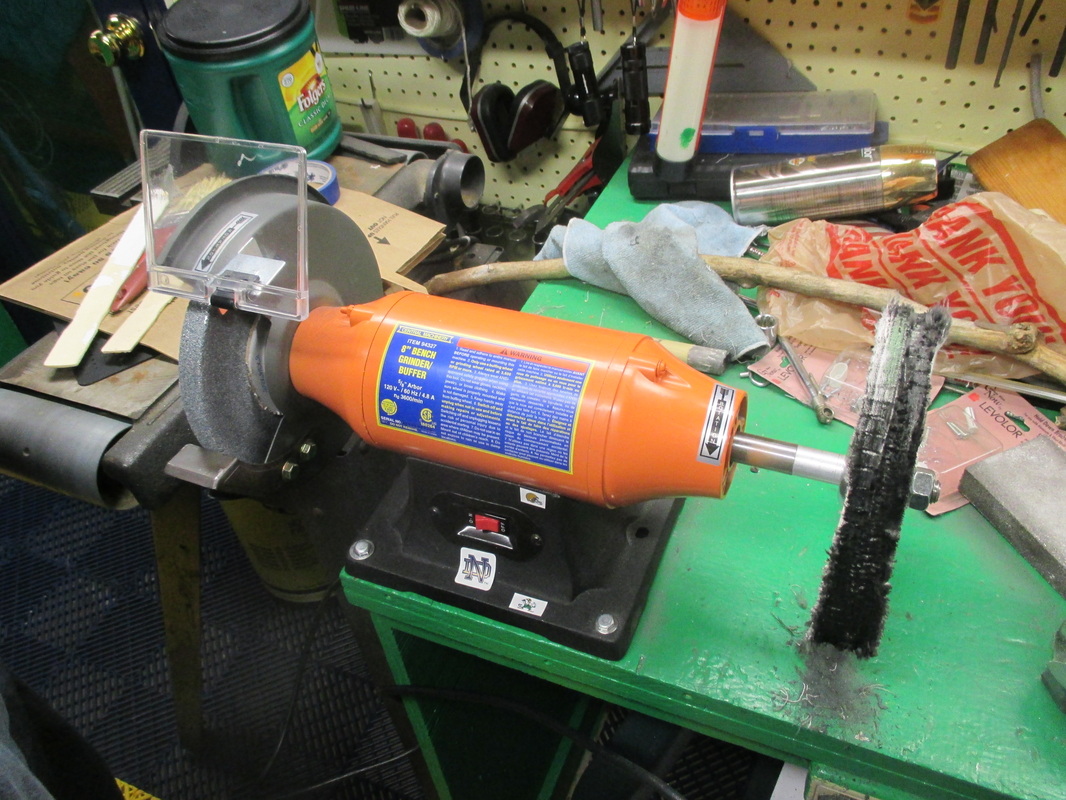
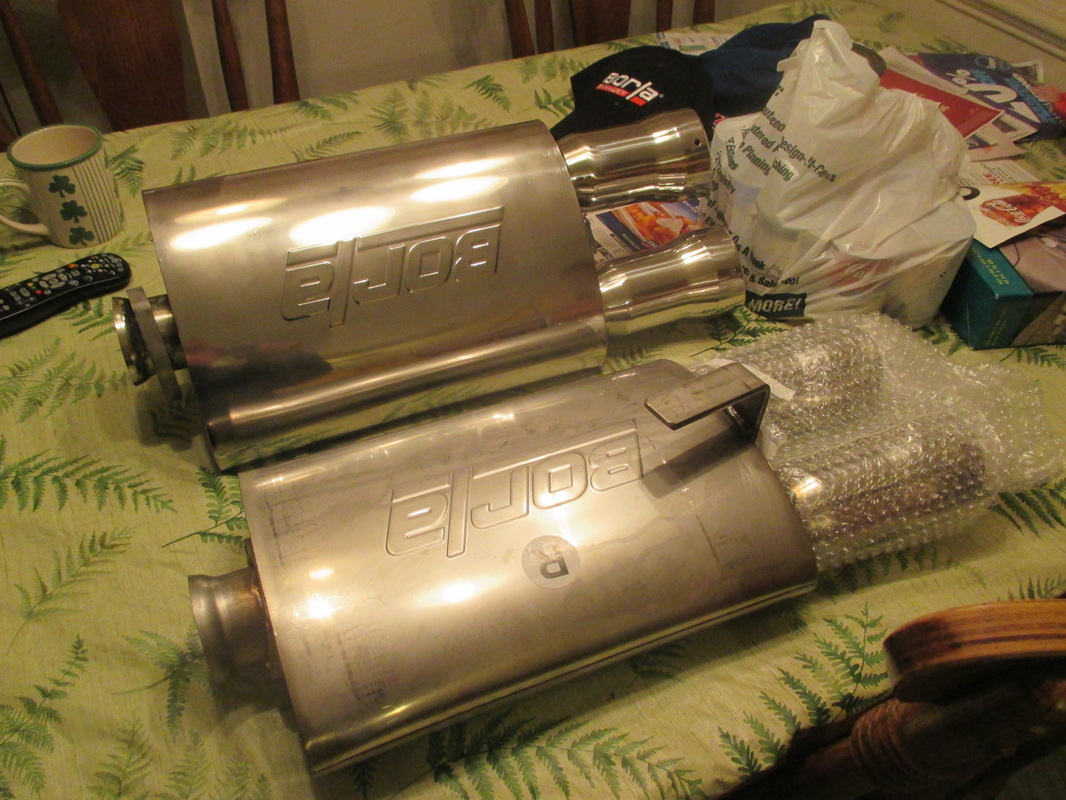
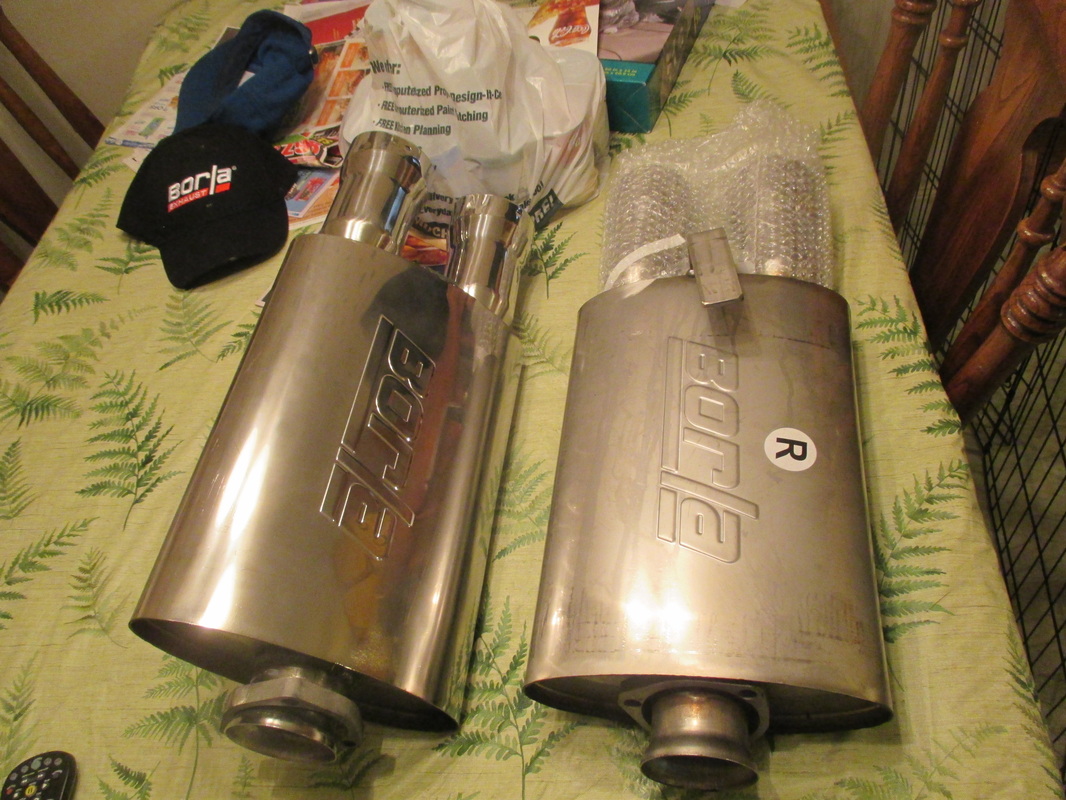
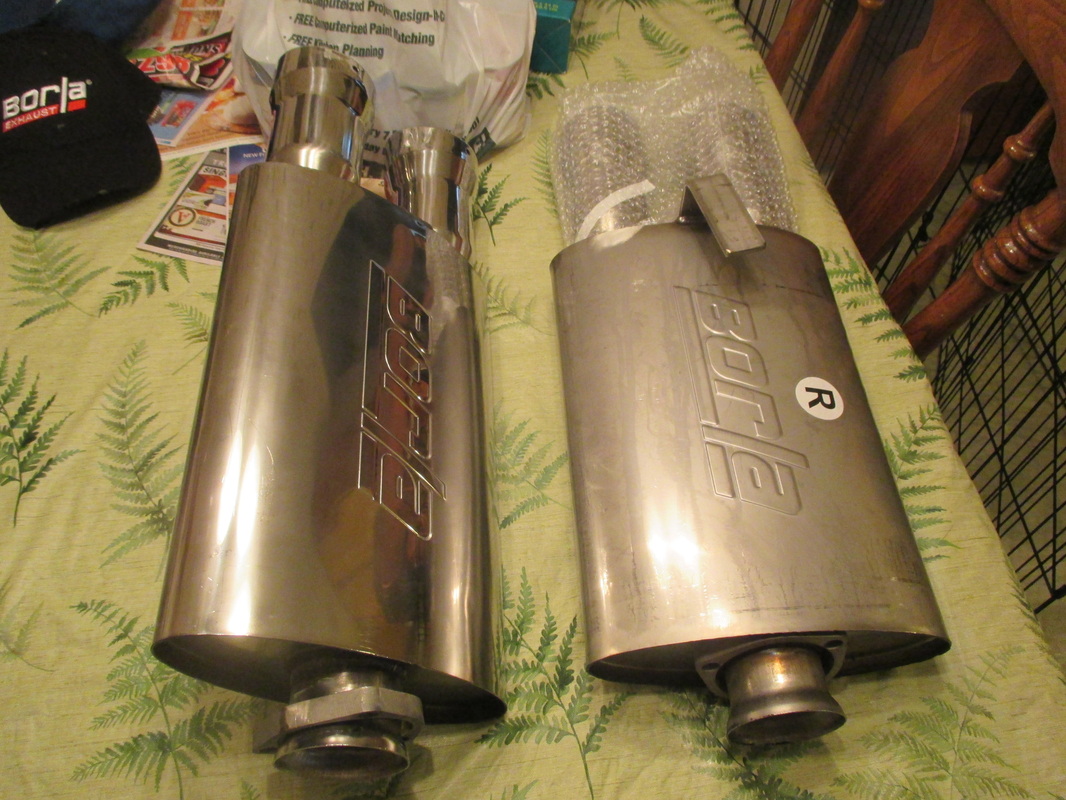
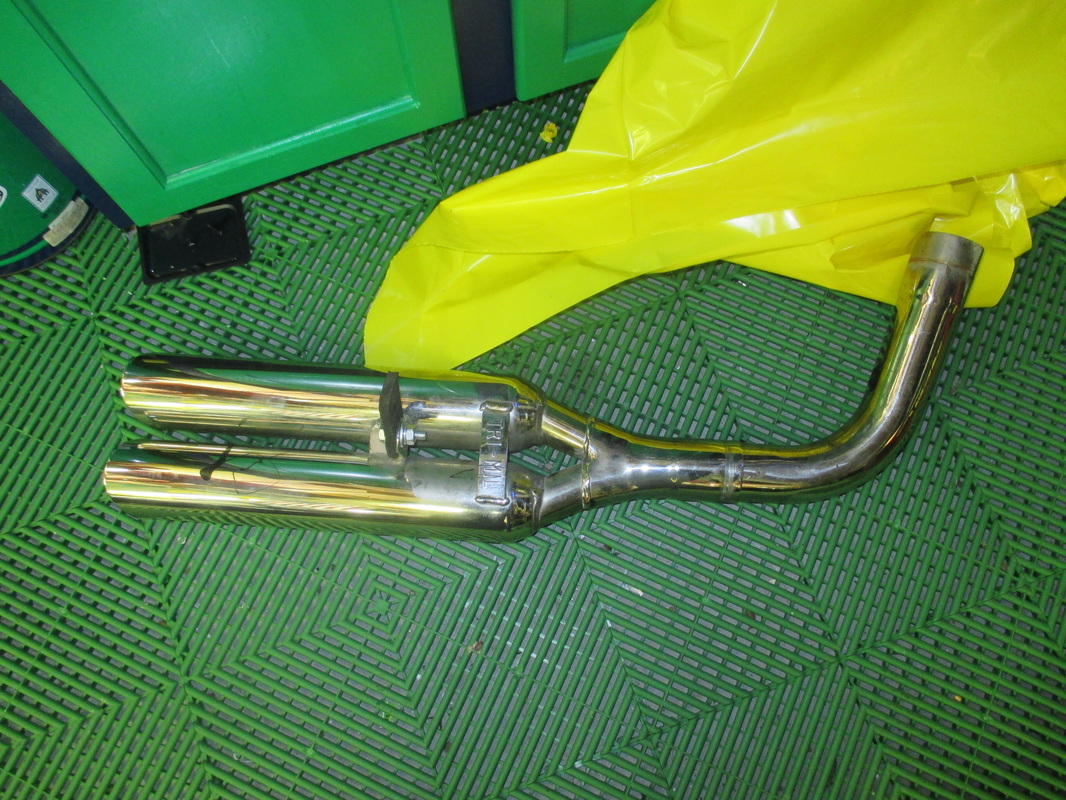
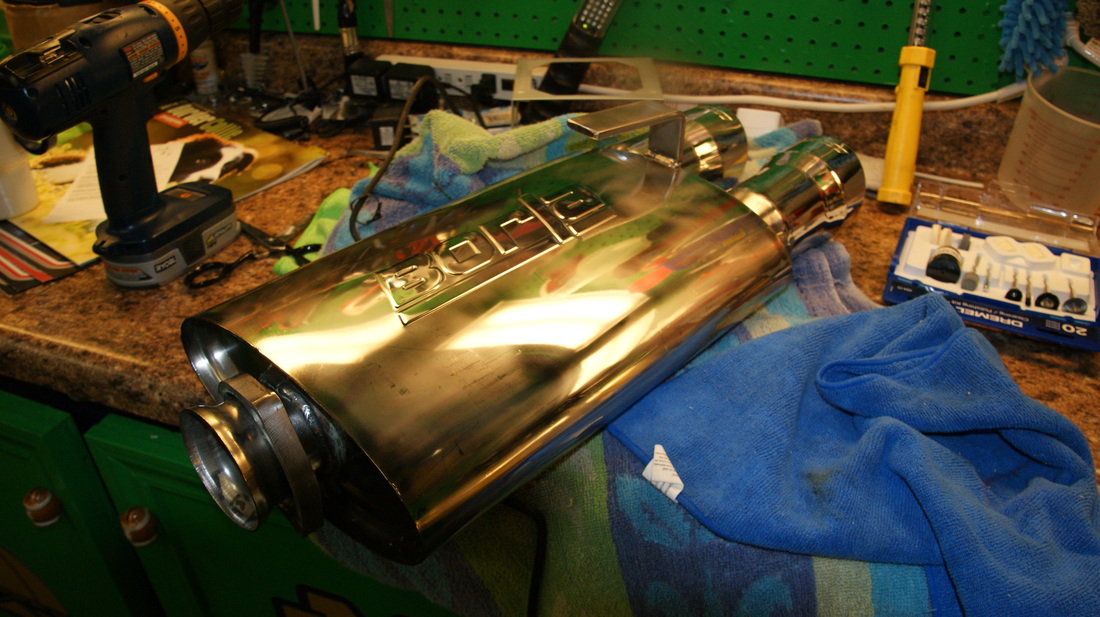
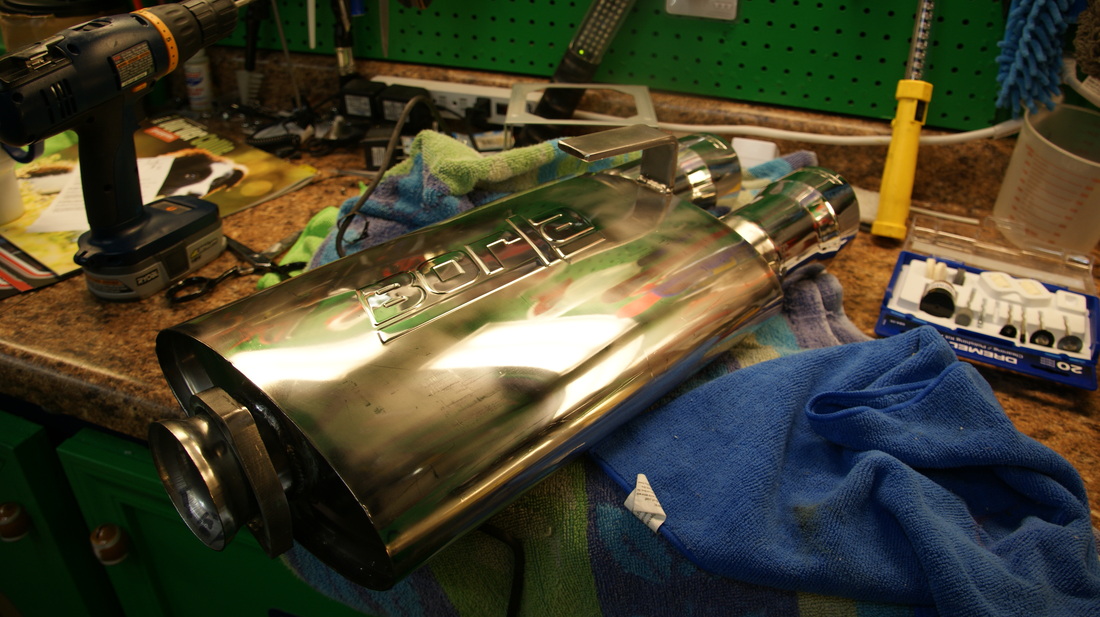
Greg decided to fix the drone and the squeak this year. He purchased a Borla muffler system designed for the C4. It is a stainless steel system with polished tips. Before installing the system he decided to up the shine and polished the stainless steel. A good buffing wheel, some buffing compound with some time and patience will really improve the appearance of stainless steel. Chris White helped motivate the project as he was fresh off polishing his ss Loud Mouth Exhaust that he plans to install on his C5. Chris gave Greg a boost by buying him a buffing wheel and some compound through his company. After buffing, Greg took advantage of an unseasonably warm day and removed the "old" exhaust ending and installed the new Borla mufflers. Wylie Etscheid stopped by to observe because he is considering an exhaust upgrade on his '92 Vette (see below). Bill Lapham also stopped over for picture taking and offered "technical" advice. Chris White heard there was an install party and stopped by on his lunch hour to offer moral support. The exhaust is still plenty loud but has been tamed a bit. Hopefully the drone and the squeak are both gone! Now all we need is some driving weather to give it a good test!
The first set of pictures show the prep work done to the new pipes.
Be Sure to Read the Installation AND Redo Sections Too!
A few years ago after Greg first picked up his '84 Vette (aka B-2) he needed to "polish" the rusty old stock style exhaust system so he dropped the entire system from the headers all the way back in one piece on his driveway and then slid the whole thing out from under his Vette. He then installed a stainless steel true dual exhaust system and ended it with chrome pipes. The result was a basically straight through exhaust and VERY LOUD. The biggest problem was it resulted in an annoying drone in the passenger cabin and also caused an equally annoying squeak in the passenger seat.
Greg decided to fix the drone and the squeak this year. He purchased a Borla muffler system designed for the C4. It is a stainless steel system with polished tips. Before installing the system he decided to up the shine and polished the stainless steel. A good buffing wheel, some buffing compound with some time and patience will really improve the appearance of stainless steel. Chris White helped motivate the project as he was fresh off polishing his ss Loud Mouth Exhaust that he plans to install on his C5. Chris gave Greg a boost by buying him a buffing wheel and some compound through his company. After buffing, Greg took advantage of an unseasonably warm day and removed the "old" exhaust ending and installed the new Borla mufflers. Wylie Etscheid stopped by to observe because he is considering an exhaust upgrade on his '92 Vette (see below). Bill Lapham also stopped over for picture taking and offered "technical" advice. Chris White heard there was an install party and stopped by on his lunch hour to offer moral support. The exhaust is still plenty loud but has been tamed a bit. Hopefully the drone and the squeak are both gone! Now all we need is some driving weather to give it a good test!
The first set of pictures show the prep work done to the new pipes.
Be Sure to Read the Installation AND Redo Sections Too!

Installation Day
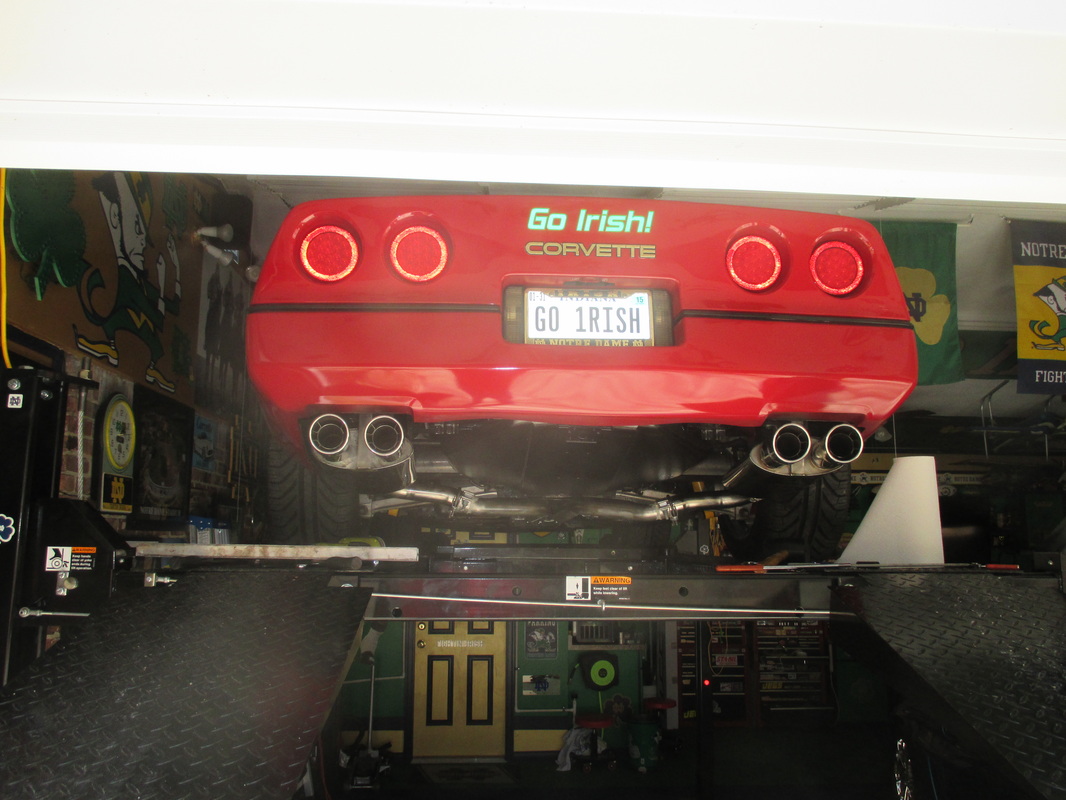
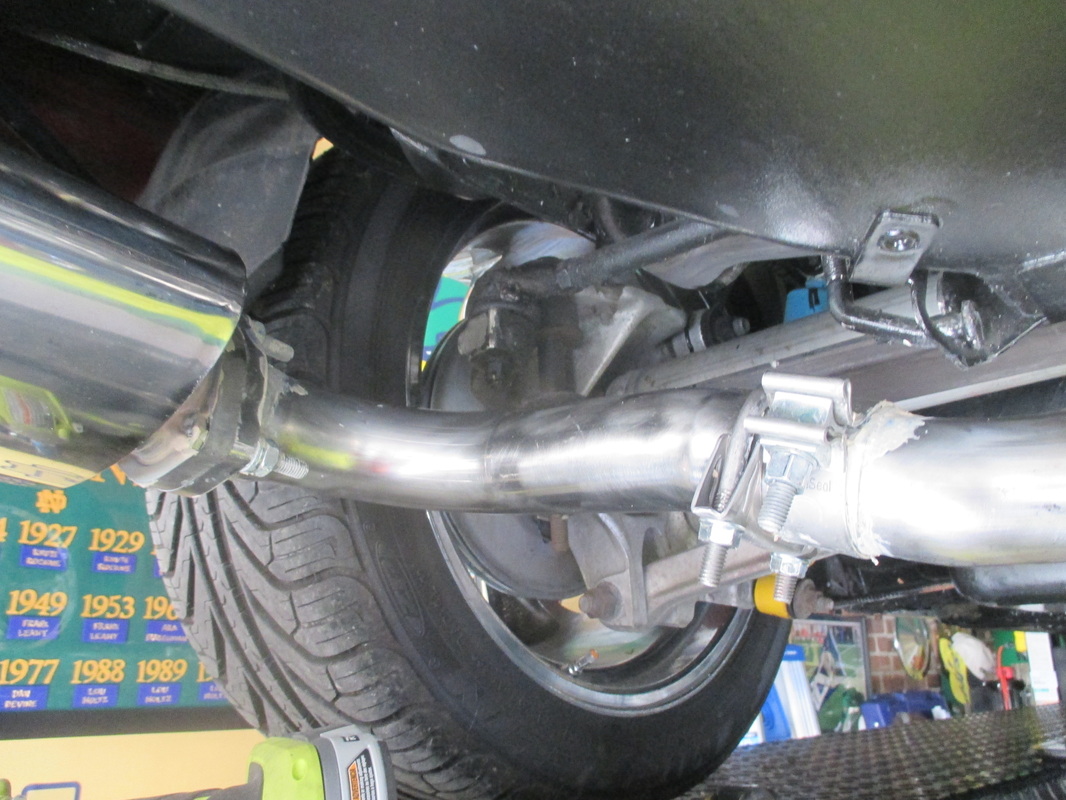
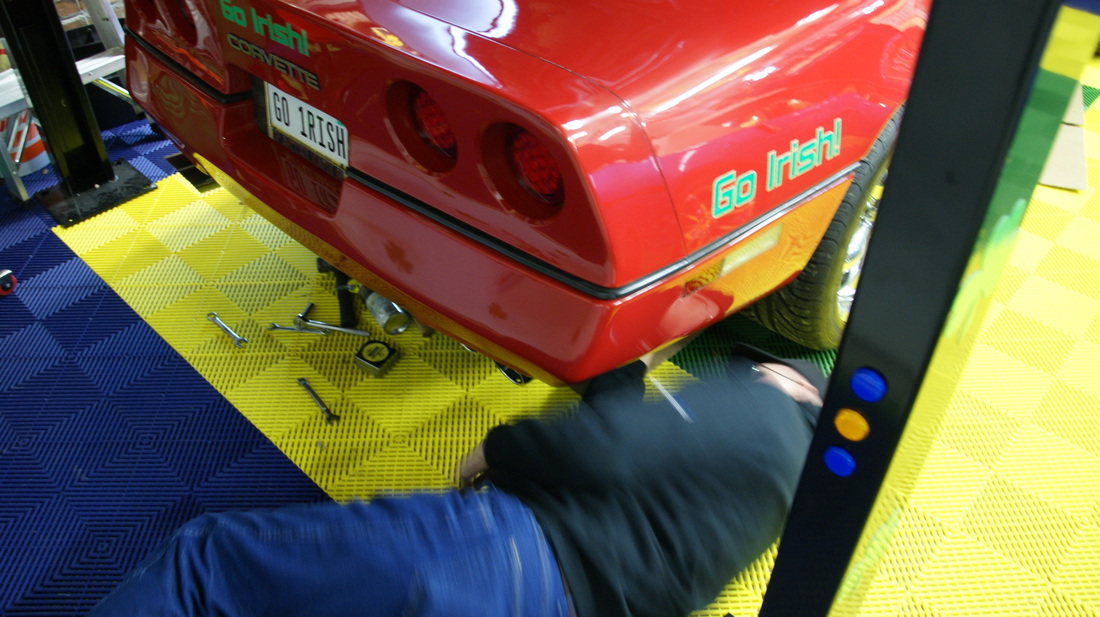
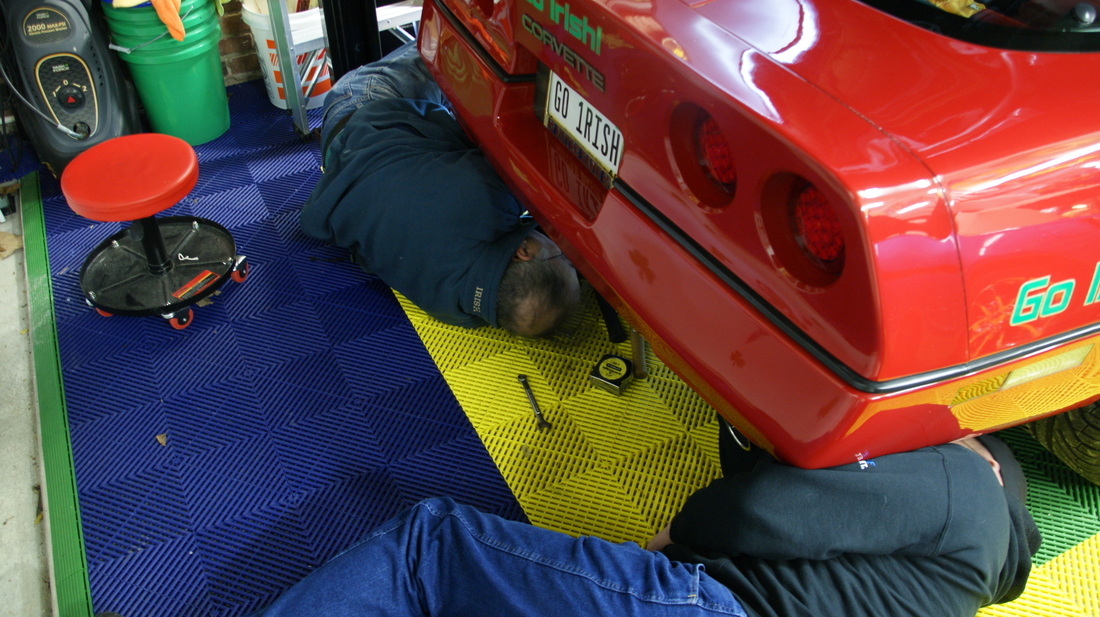
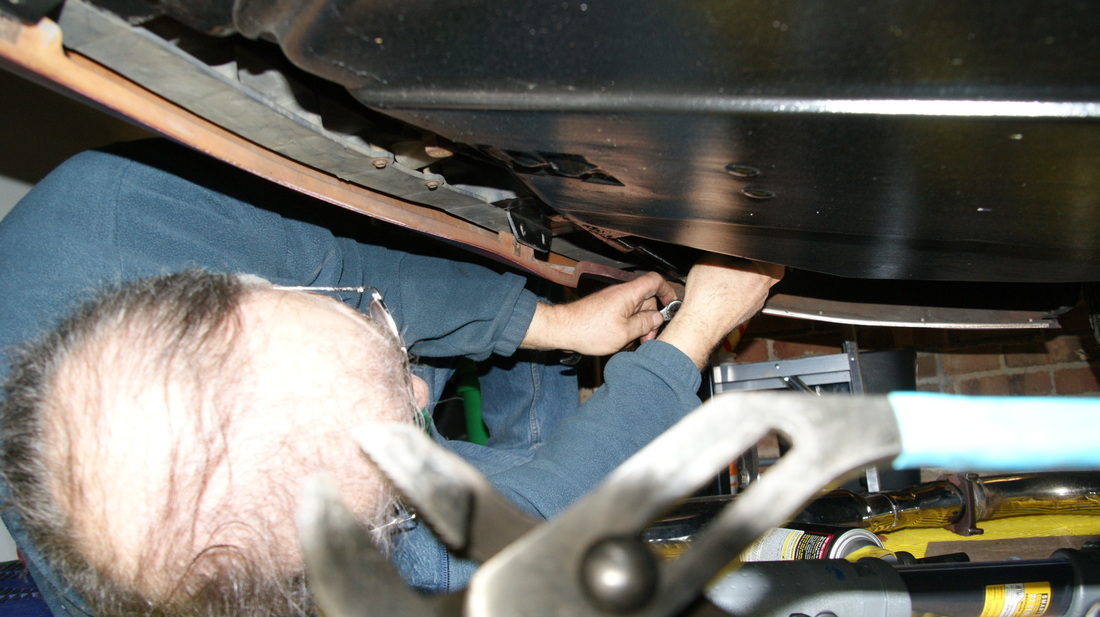
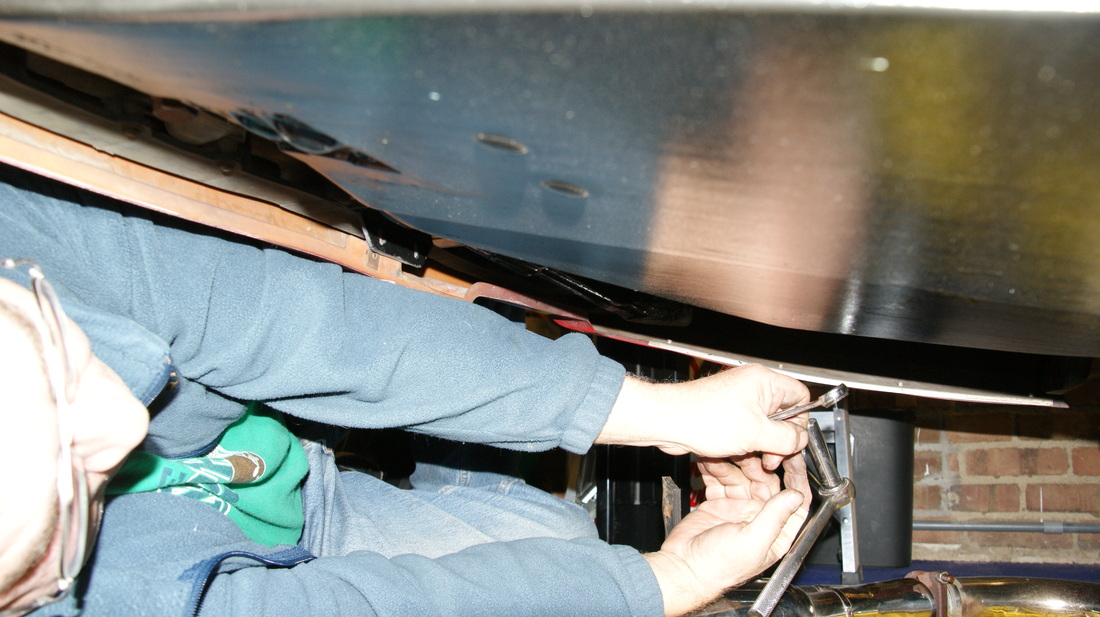
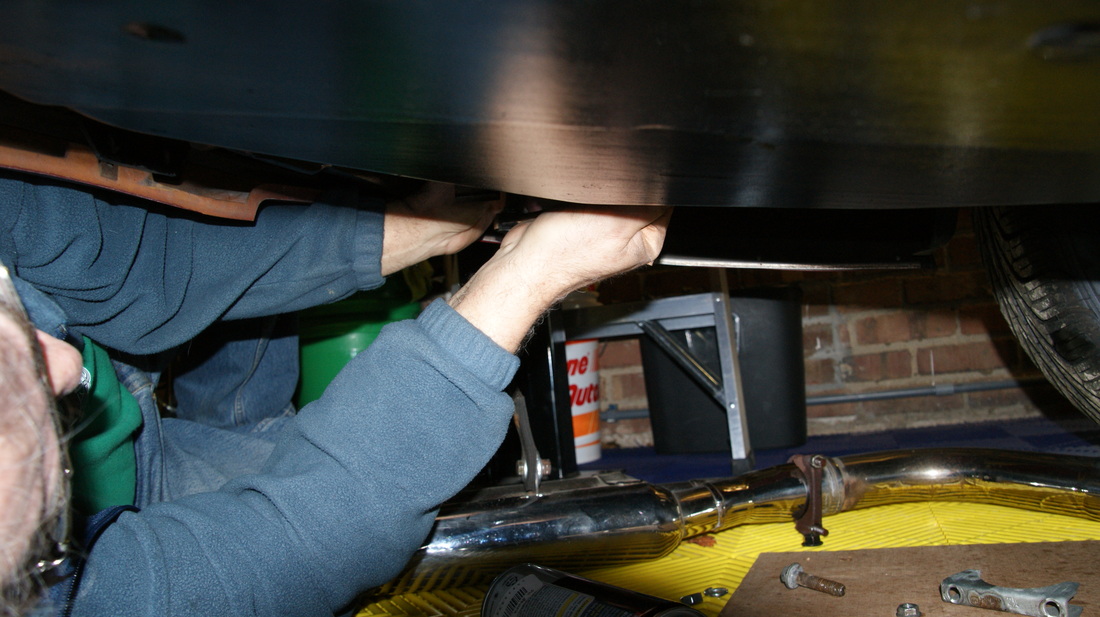
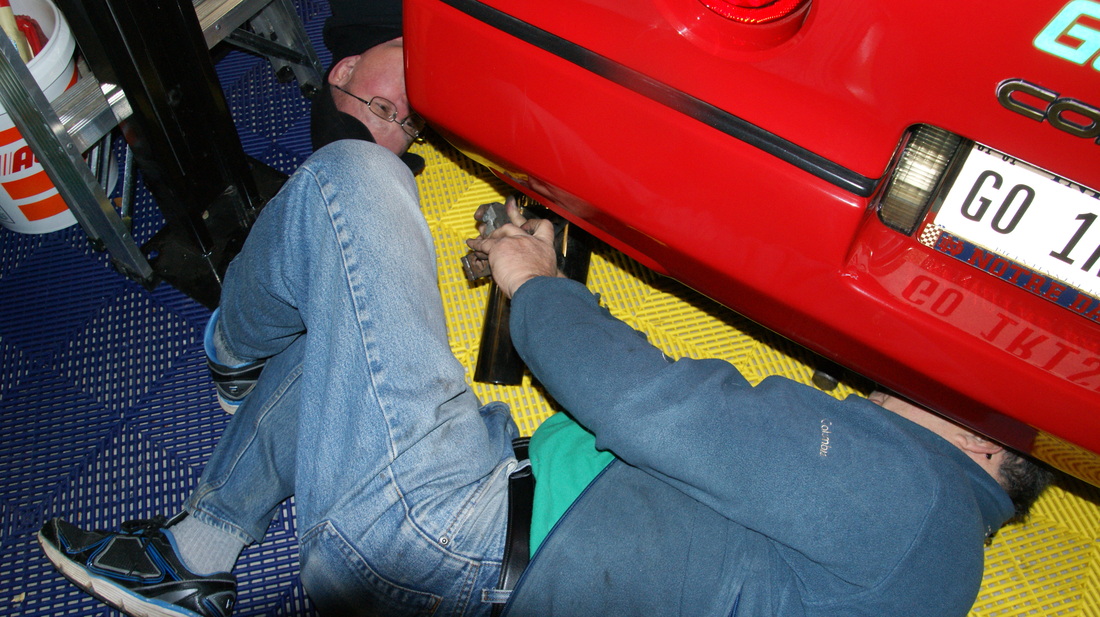
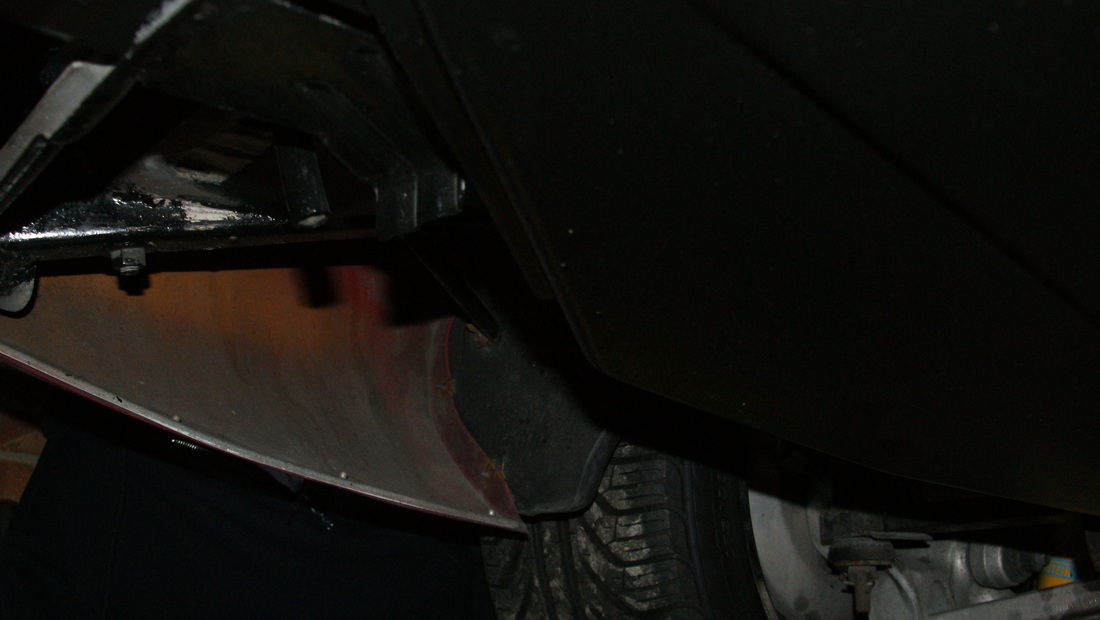
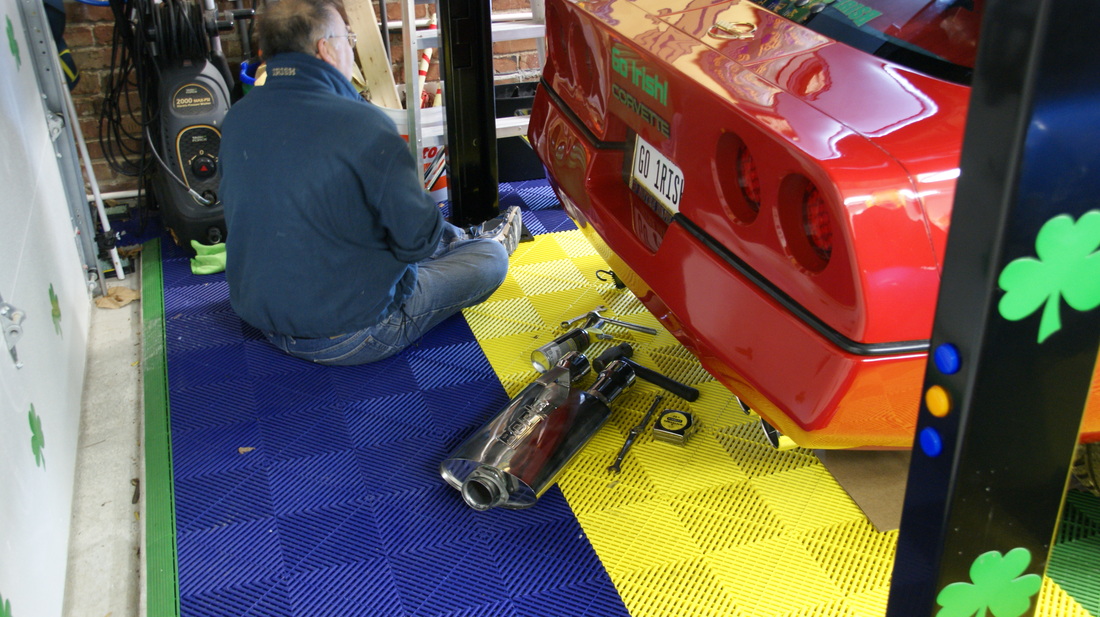
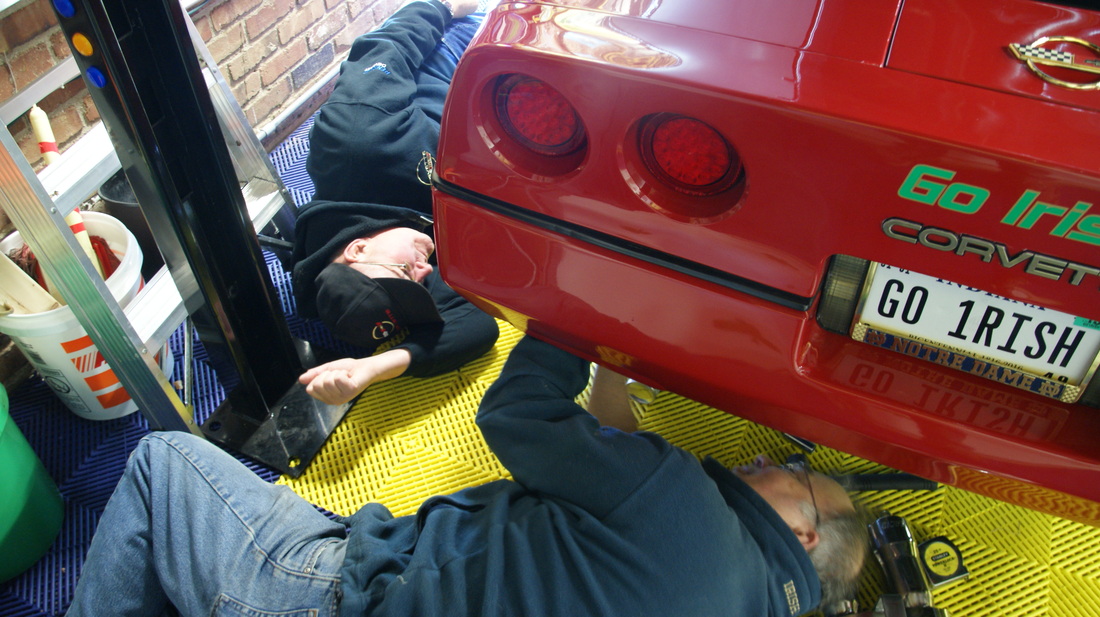
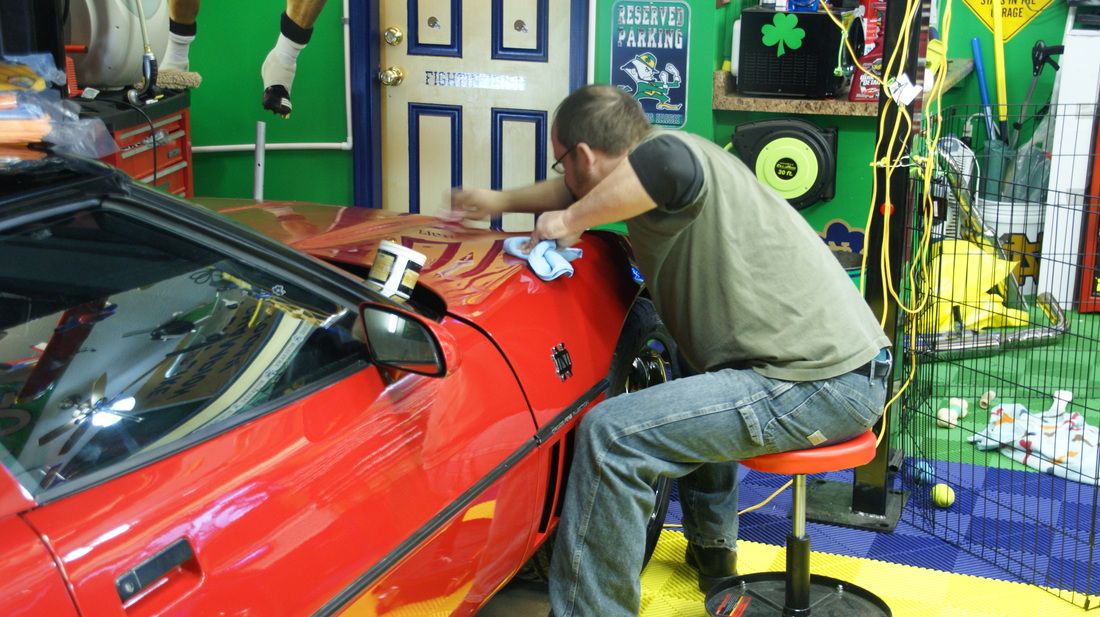
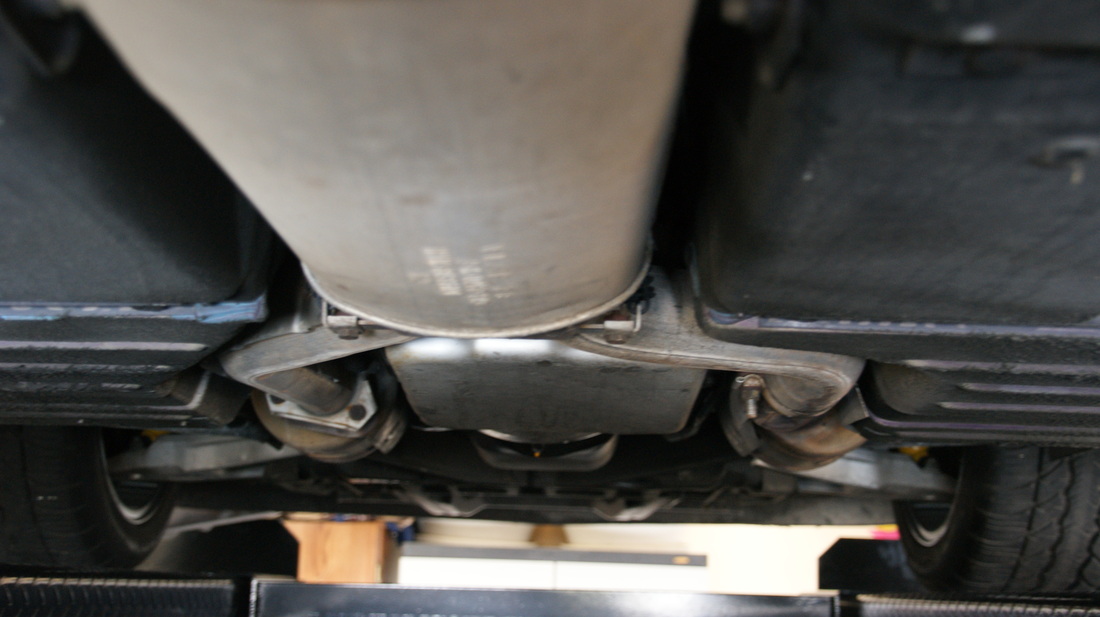
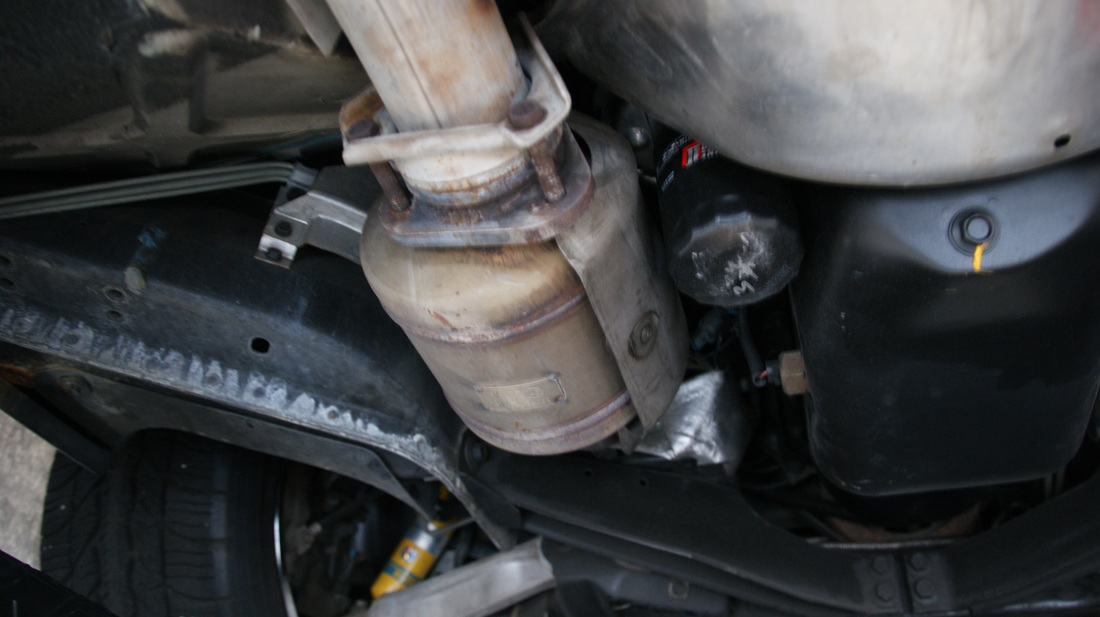
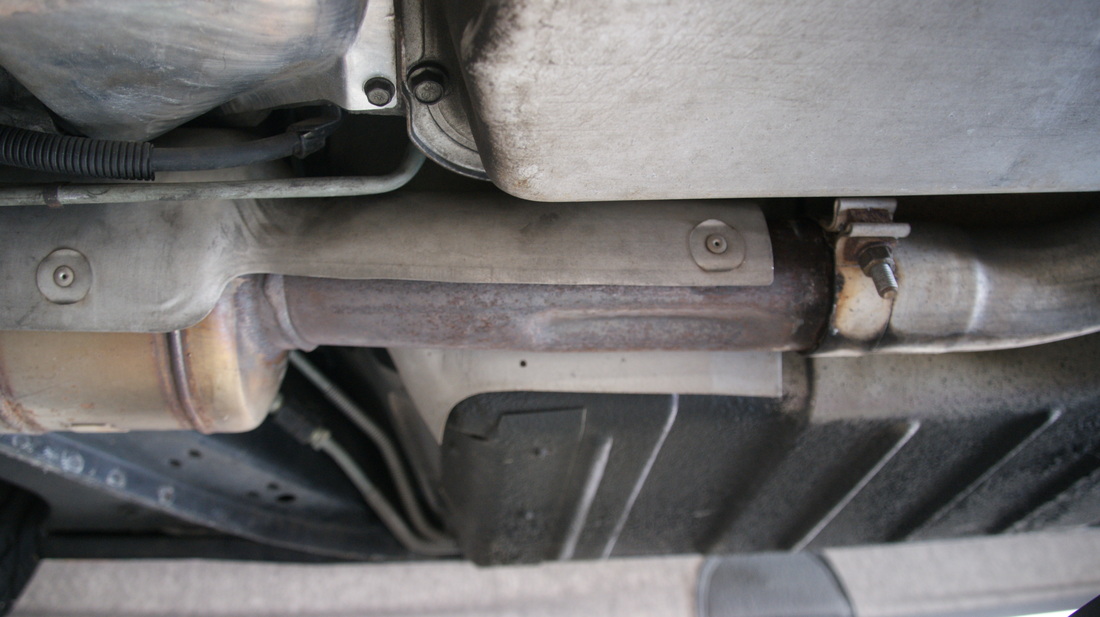
As mentioned above on the installation day Greg had moral support from Wylie, Bill, and Chris. As can be seen he was doing the project on his back while Greg Jr detailed the C4. It was commented on several times (technical advice) that it might have been easier to do from up on one of his three lifts in his garage! The swap out was fairly simple as he was able to remove the straight pipe and replace it with the supplied pipe and muffler using clamps. The results are very nice after spending many hours polishing the stainless steel mufflers and pipes to a near chromed look!
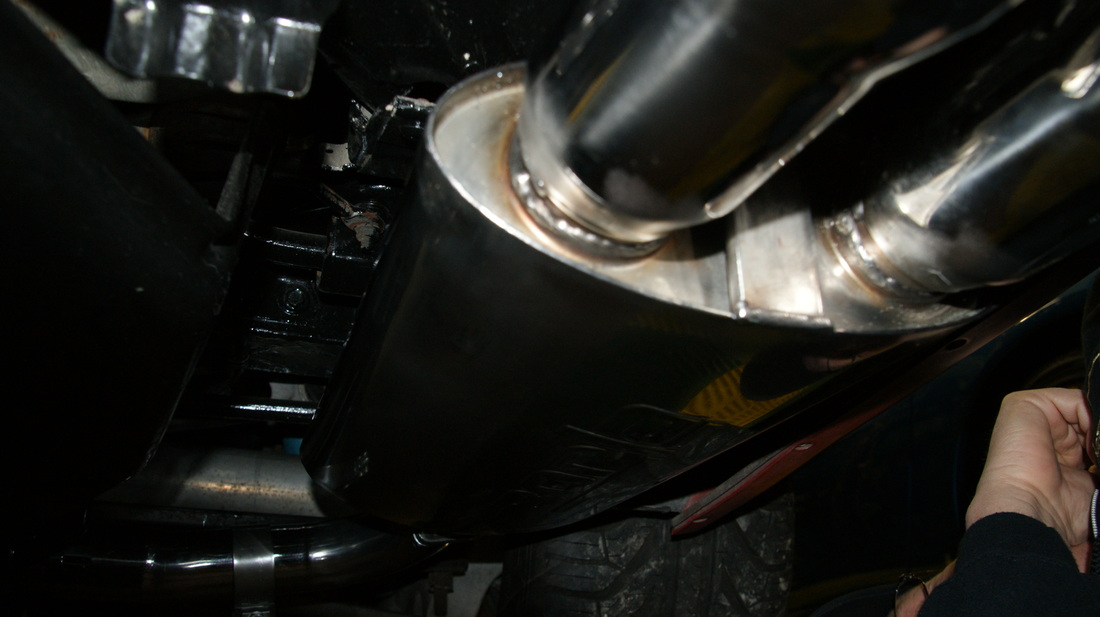
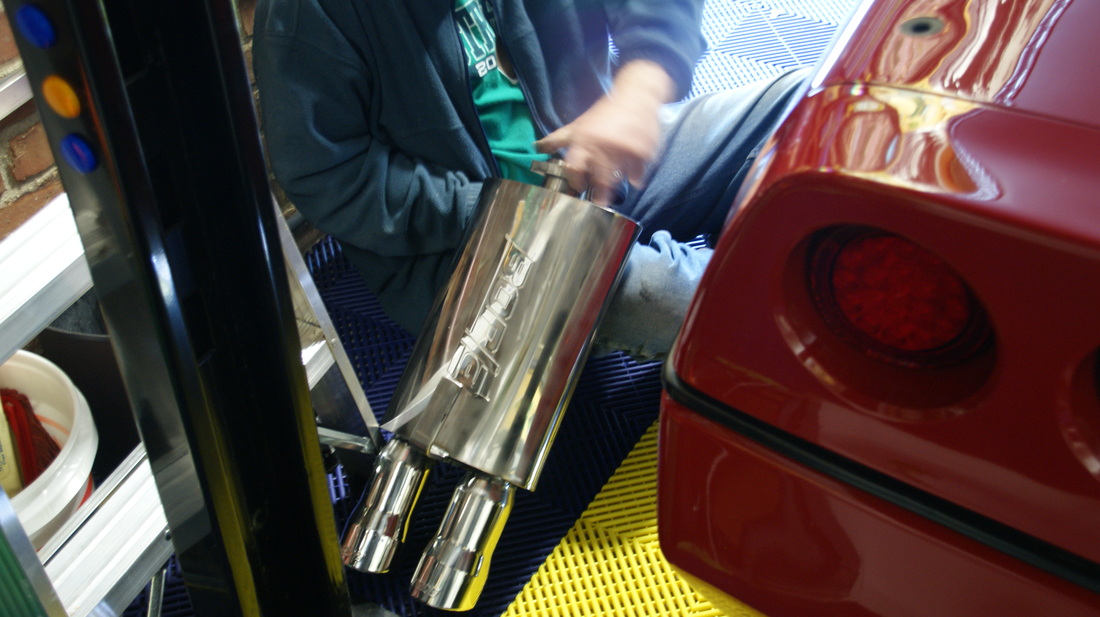
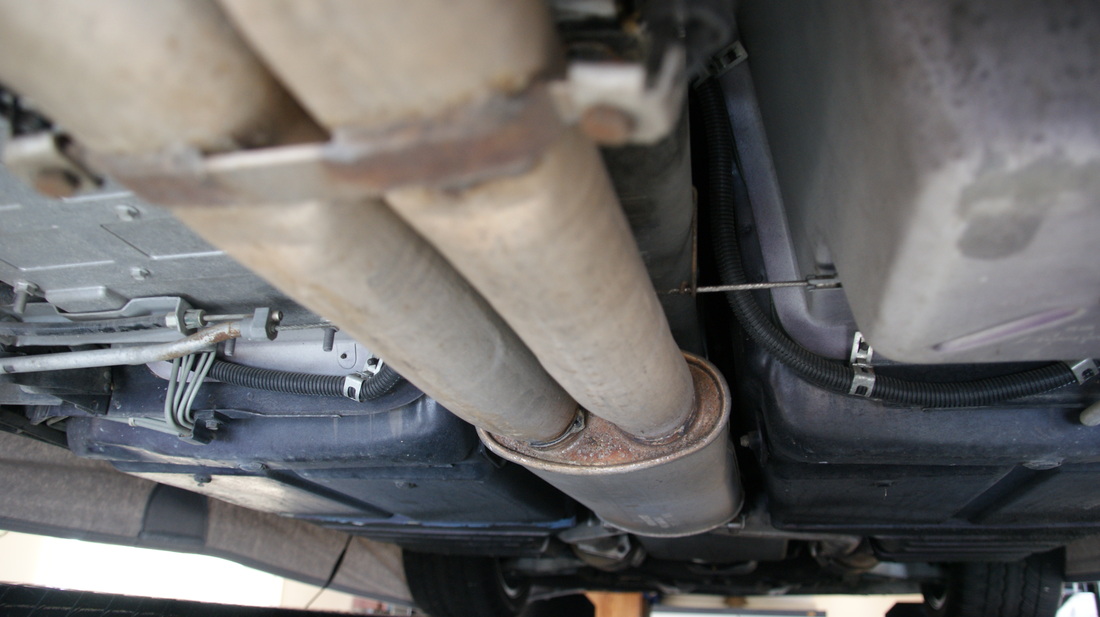
Wylie had stopped by as he has an interest in doing an muffler upgraded to his '92 C4 . With Greg Jr polishing away we took a bit of a break and headed to Wylie's house to see what, if any, differences there were. Since Greg's is a late '80s C4, it turns out that it has smaller pipes (2 1/4") than a '92 which measured out at about 2 3/4" diameter. There will also be some pipe cutting and a bit more of a challenge to do Wylie's system, but certainly easier in some respects because Wylie will use his lift! After returning to Greg's we left him finishing the installation. The final picture shows the right side results after Greg spent more hours leveling things up.
As mentioned above on the installation day Greg had moral support from Wylie, Bill, and Chris. As can be seen he was doing the project on his back while Greg Jr detailed the C4. It was commented on several times (technical advice) that it might have been easier to do from up on one of his three lifts in his garage! The swap out was fairly simple as he was able to remove the straight pipe and replace it with the supplied pipe and muffler using clamps. The results are very nice after spending many hours polishing the stainless steel mufflers and pipes to a near chromed look!
Wylie had stopped by as he has an interest in doing an muffler upgraded to his '92 C4 . With Greg Jr polishing away we took a bit of a break and headed to Wylie's house to see what, if any, differences there were. Since Greg's is a late '80s C4, it turns out that it has smaller pipes (2 1/4") than a '92 which measured out at about 2 3/4" diameter. There will also be some pipe cutting and a bit more of a challenge to do Wylie's system, but certainly easier in some respects because Wylie will use his lift! After returning to Greg's we left him finishing the installation. The final picture shows the right side results after Greg spent more hours leveling things up.

C4 Muffler Replacement - The Redo
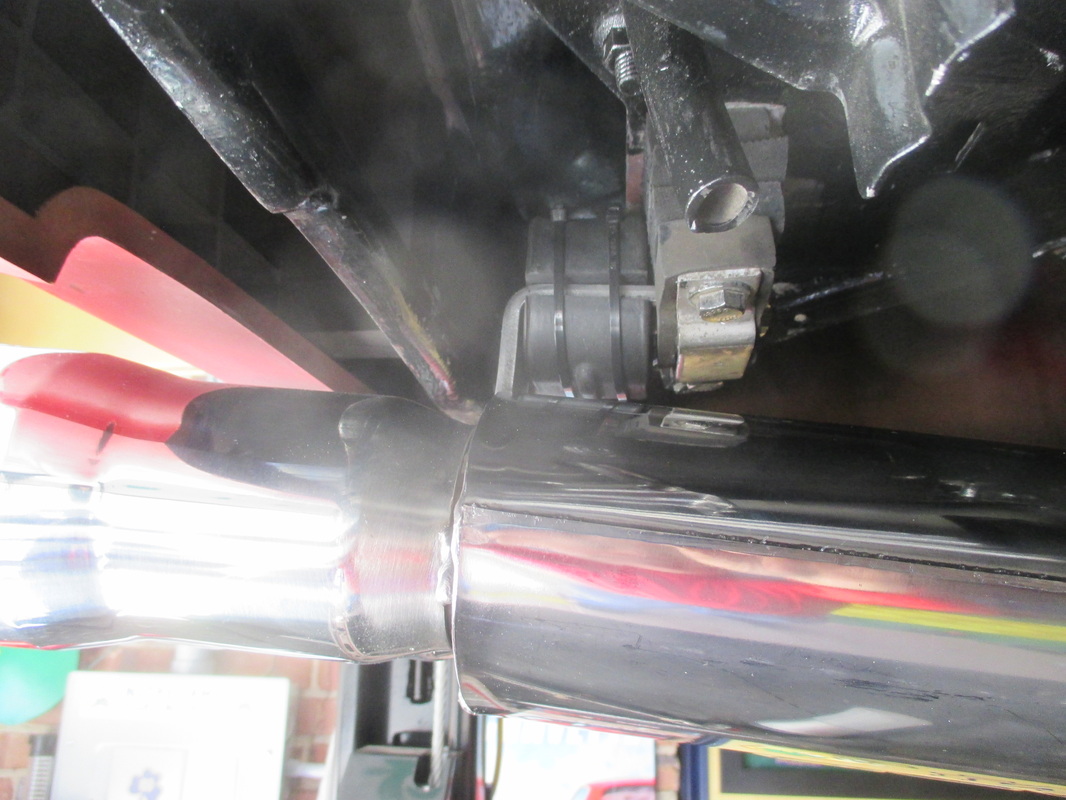
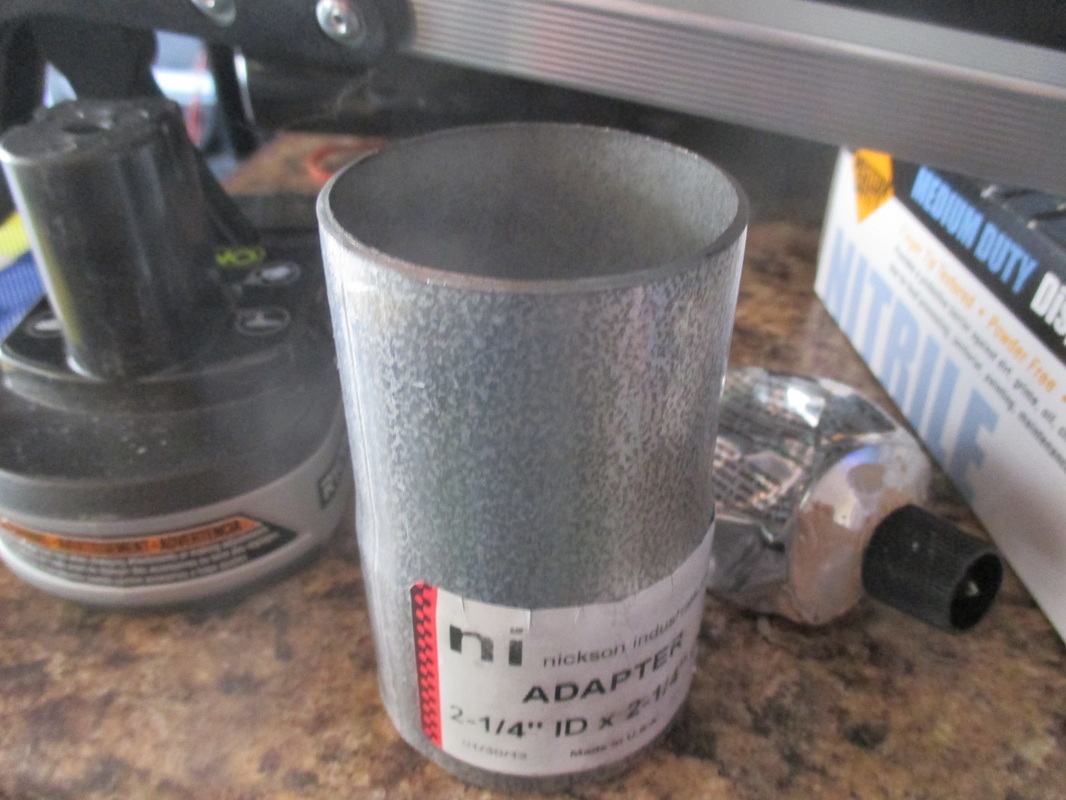
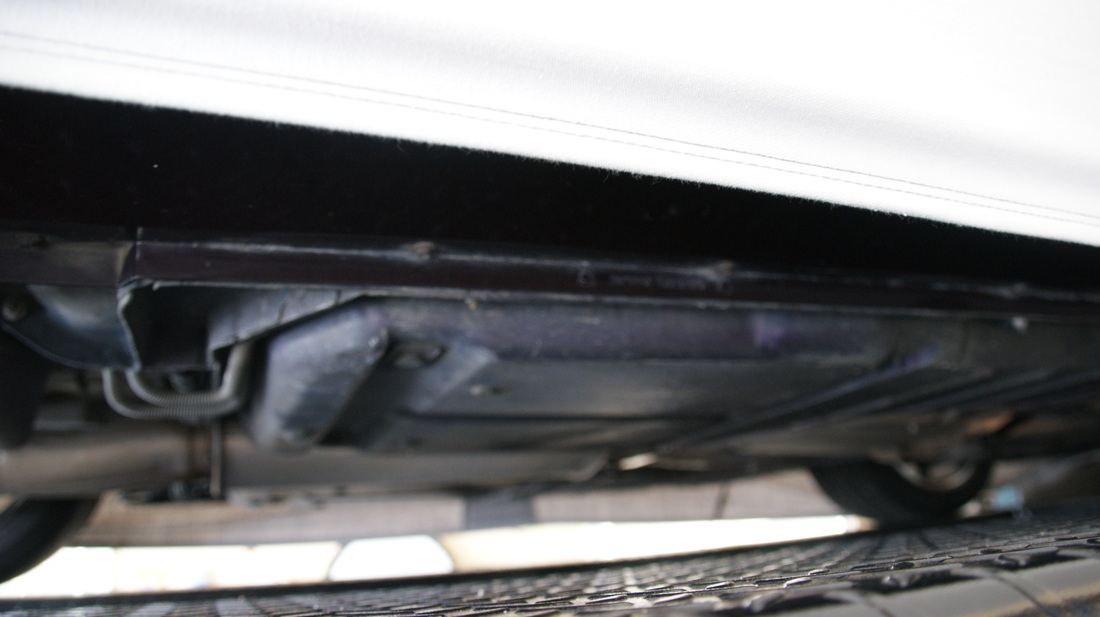
After Greg installed the new mufflers on his '84 Vette he wasn't satisfied with the first attempt. The stock muffler hanger left the pipes high and tight against the fiberglass on the rear bumper and also about an inch shy of protruding past the rear fiberglass. He took a trip to the local Autozone for ideas and after browsing their parts section he came home with two 2 1/4" to 2 1/4" pipes connectors, some assorted 2 1/4" muffler clamps and some muffler paste.
He removed the mufflers he had recently installed and also removed both rear sections of the SS exhaust pipes. Since he had them off he took the opportunity to wire brush the SS to remove any oxidation and coloration and make them bright and shiny. Then he reinstalled the pipes using the 2 1/4" connectors which lengthened the pipes a couple of inches.
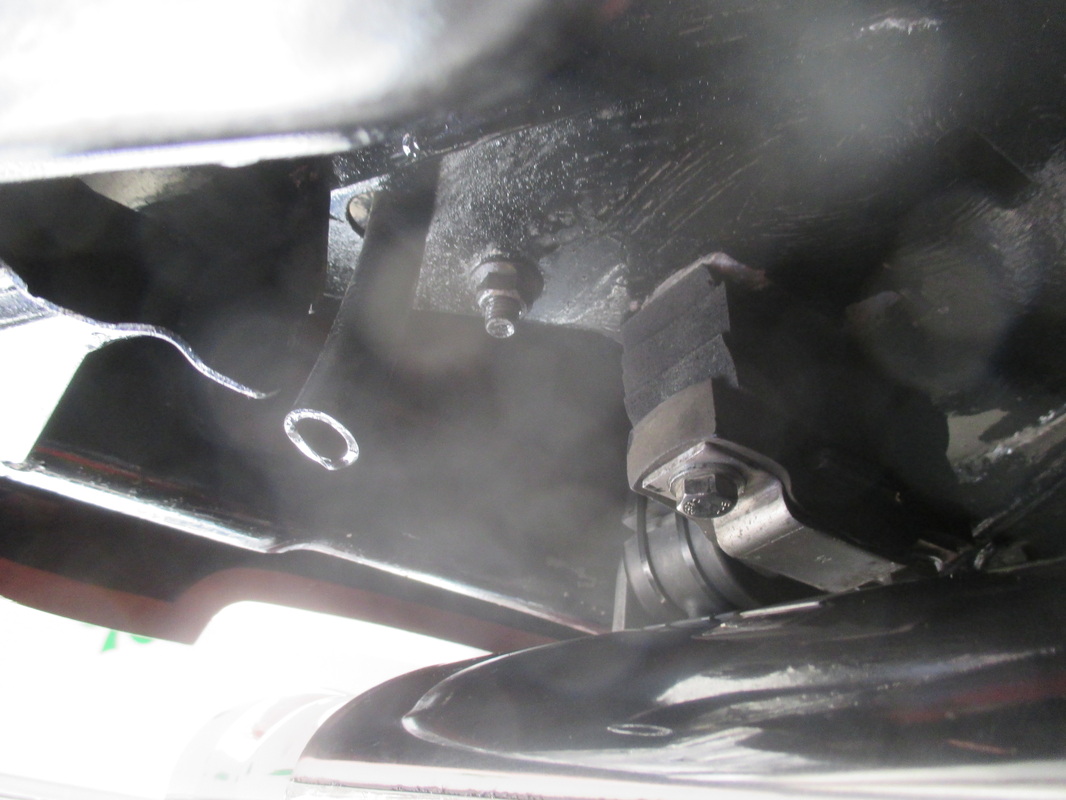
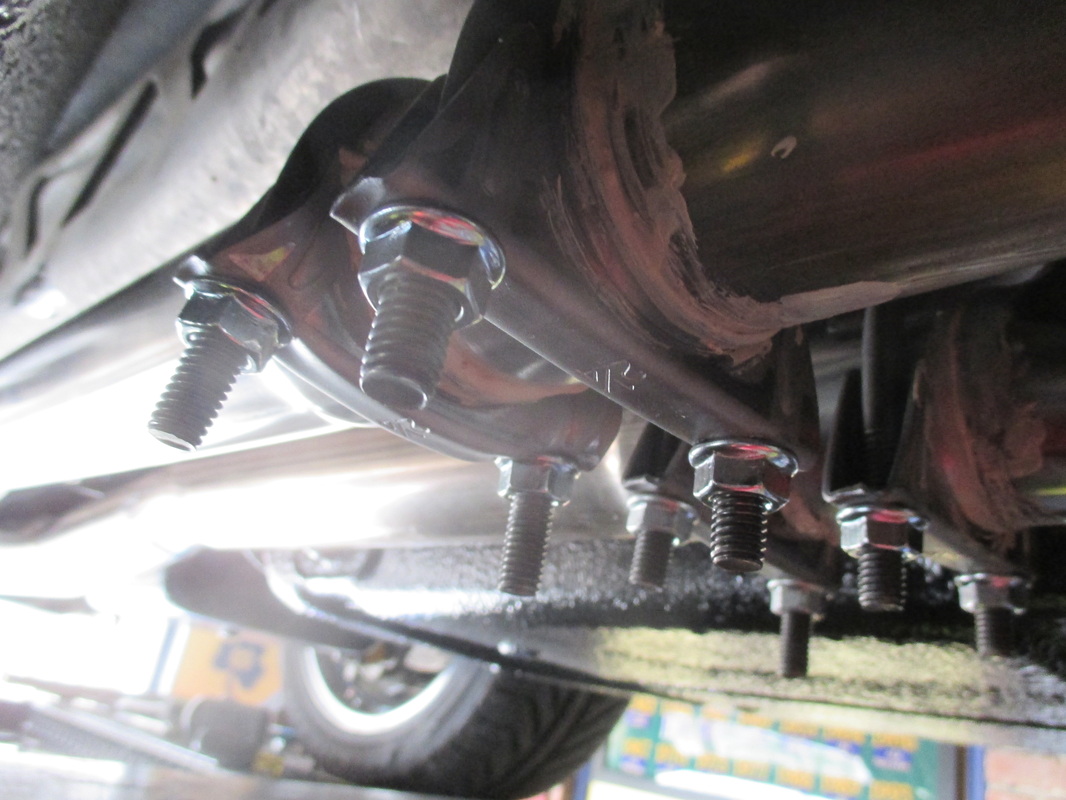
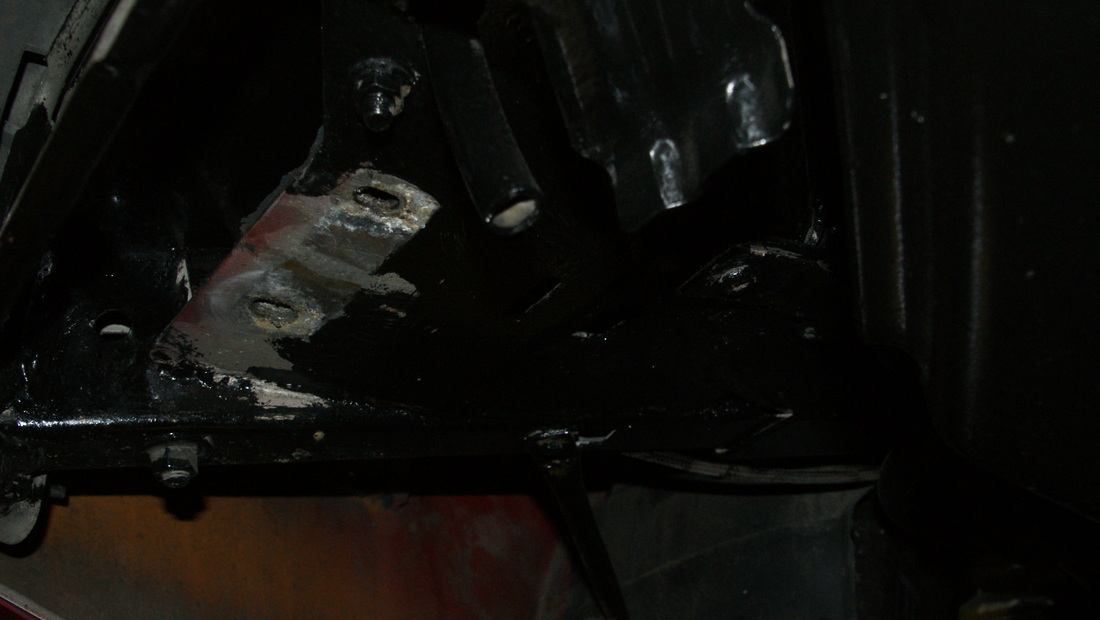
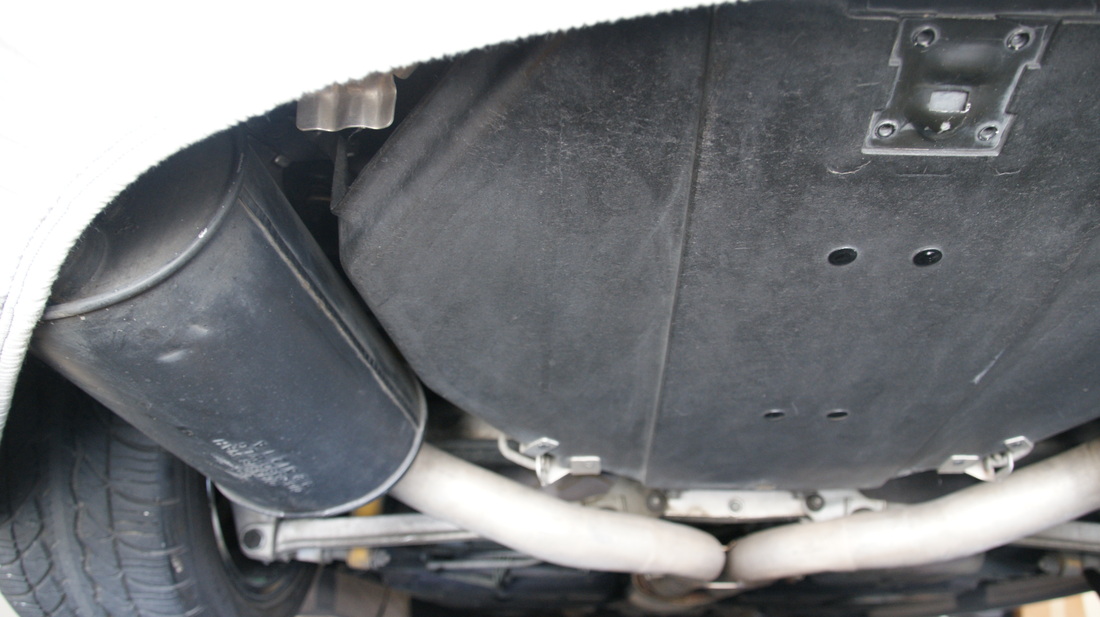
Next he removed the stock muffler hangers. Looking around he found a tool designed for putting grout between tiles which had a thick hard rubber surface. He stripped the rubber off the tool and cut it into 6 equal strips with a Stanley knife and drilled 2 holes in each piece that lined up with the mounting holes on the stock muffler hangers. After a short break for a trip to Lowes to get 4 longer mounting bolts he reinstalled the muffler hangers with 3 pieces of the hard rubber between the mount and the frame. This essentially lowered the muffler hanger about 2" on each side and would drop the muffler exit pipes well below the fiberglass bumper.
Before he rehung the mufflers he found some used sway bar bushings left over from a previous project on a C5 and using flex ties affixed one to the hanger arm of each muffler. The bushings thus act as a spacer and force the mufflers towards the back end of the car. The result of both fixes is after rehanging the mufflers the muffler tips are now well below the fiberglass and protrude about an inch beyond the rear of the car. This provides a better view of the SS mufflers and keeps the exhaust soot off the fiberglass. Greg used muffler paste on all connections which after hardening reduce the chances of the mufflers slipping and changing position.
Greg was happy with the result. But alas, it didn't pass the supervisor test. After close inspection by the chief inspector, Donna declared that the mufflers weren't quite angled exactly right. Dang, where was she when Greg was making the adjustments? :<( Never the less, this project is officially over!
Webmaster Note: Notice that this time Greg used one of his three lifts for the redo!
After Greg installed the new mufflers on his '84 Vette he wasn't satisfied with the first attempt. The stock muffler hanger left the pipes high and tight against the fiberglass on the rear bumper and also about an inch shy of protruding past the rear fiberglass. He took a trip to the local Autozone for ideas and after browsing their parts section he came home with two 2 1/4" to 2 1/4" pipes connectors, some assorted 2 1/4" muffler clamps and some muffler paste.
He removed the mufflers he had recently installed and also removed both rear sections of the SS exhaust pipes. Since he had them off he took the opportunity to wire brush the SS to remove any oxidation and coloration and make them bright and shiny. Then he reinstalled the pipes using the 2 1/4" connectors which lengthened the pipes a couple of inches.
Next he removed the stock muffler hangers. Looking around he found a tool designed for putting grout between tiles which had a thick hard rubber surface. He stripped the rubber off the tool and cut it into 6 equal strips with a Stanley knife and drilled 2 holes in each piece that lined up with the mounting holes on the stock muffler hangers. After a short break for a trip to Lowes to get 4 longer mounting bolts he reinstalled the muffler hangers with 3 pieces of the hard rubber between the mount and the frame. This essentially lowered the muffler hanger about 2" on each side and would drop the muffler exit pipes well below the fiberglass bumper.
Before he rehung the mufflers he found some used sway bar bushings left over from a previous project on a C5 and using flex ties affixed one to the hanger arm of each muffler. The bushings thus act as a spacer and force the mufflers towards the back end of the car. The result of both fixes is after rehanging the mufflers the muffler tips are now well below the fiberglass and protrude about an inch beyond the rear of the car. This provides a better view of the SS mufflers and keeps the exhaust soot off the fiberglass. Greg used muffler paste on all connections which after hardening reduce the chances of the mufflers slipping and changing position.
Greg was happy with the result. But alas, it didn't pass the supervisor test. After close inspection by the chief inspector, Donna declared that the mufflers weren't quite angled exactly right. Dang, where was she when Greg was making the adjustments? :<( Never the less, this project is officially over!
Webmaster Note: Notice that this time Greg used one of his three lifts for the redo!