Al's C5 Sun Visor Replacement
Al did this 'little' project in the Fall of 2018 - His instructions are very good.
The material on my sun visor on the passenger side has always been baggy and droopy on the end so I decided to replace it. I decided to replace the driver’s side also in case it had faded.
The old adage “measure twice, cut once” should conjure the attitude for this project. Slow your roll.
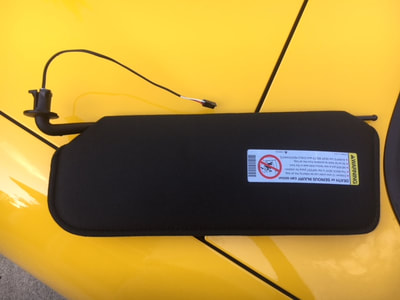
One of the new sun visors is shown setting on my trunk(yellow background).
My car has the lighted mirrors in both sun visors (thus the wires) (pic 3).
The old sun visor can NOT be removed by twisting, pulling, prying, or cursing.
Take heart-I will save you!
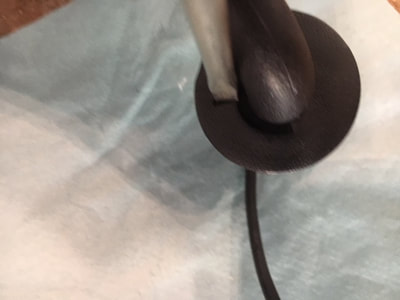
Examine the new product carefully before removing the old (pic 3).
The magic Is the backside of the black plastic escutcheon of the new unit that the metal structure rod passes through.
The bottom side of this escutcheon (what you will see after you complete the project) has a small orientation notch against the metal rod which should point to the rear of the car before removal. Additionally there is a bigger blind (not cut completely through) slot near the rod. This bigger slot will accept the point of a small or pocket screwdriver (see pic 2 with the screwdriver already in place).
Procedure: 1. place the sun visor in it’s “parked position”,
2. Take a picture of the black escutcheon from below it,
3. Insert and hold the screwdriver into the above mentioned slot pressing upward,
4. rotate the assembly toward the side window (counter clockwise) while pulling down gently but firmly on the entire sun visor assembly (this is how it works: when the rotating rod on it’s path toward the side window meets the screwdriver, it uses the connection between the screwdriver and escutcheon to rotate the escutcheon out of its locking orientation).
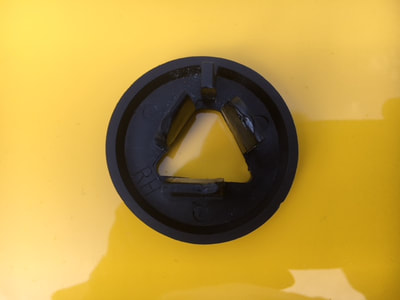
5. With the unit totally freed, you will find another black plastic escutcheon with a triangular hole (pic1 shown from upper side) snapped up into the upper windshield frame.
Do NOT let this part get out of it’s mounting as it too has a specific orientation.
6. Disconnect the wires at the connector and discard old sun visor.
Installation of new sun visor:
7. Snap wiring connector together and carefully stuff wires completely into the triangular hole.
8. With sun visor at side window, trial fit escutcheon into the vacated hole trying to find where thread starts. Visualize that you will be rotating clockwise this time.
9. Insert the screwdriver into the slot as used before pushing upward.
10. The rod near it’s bend should again press against the screwdriver, but now on it’s right. Rotate clockwise about a quarter turn until is locked and flush. The small slot should now be facing the rear of the car. Compare this to the previous photo that you took. It can only lock in one position.
Like falling off a log!
Al Forey


